Summary
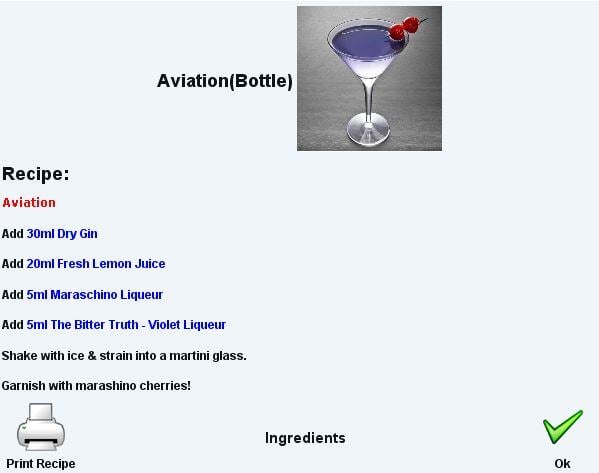
This article explains the image format and location requirements for adding images to the ingredients page in WaiterMate. It also outlines the steps to add and view images within the system. Images in the ingredients page are typically used to show staff how a finished product should appear when prepared for a customer, often in conjunction with the recipe feature.
Step 1 - Creating or Editing the Images
- Create the required image using external software such as Photoshop.
- Save the image in .jpg or .png format.
Step 2 - Saving the Images
- Once the image is created, save it in the webstart directory on a terminal
- The file path should be:
C:\Program Files\OrderMate\Apache Group\htdocs\Webstart - Example: save the image as Aviation.jpg

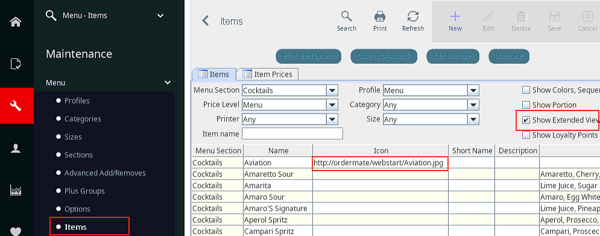
Step 3 - Assigning the Image to the Item in OfficeMate
- Navigate to the 'Items' screen on OfficeMate
- Select 'Show Extended View' to display the 'Ingredients Icon' column.
- In the 'Ingredient Icon' field, enter the file path using the following format
http://computer name/webstart/image name and file extension
Eg: http://ordermate/webstart/Aviation.jpg (as shown below)
Handy Hint: to find the computer name, right-click 'My Computer', then select 'Properties'
Step 4 - Viewing the image in WaiterMate
- Restart WaiterMate to apply the changes.
- Open the modifier screen and select the ingredient icon.
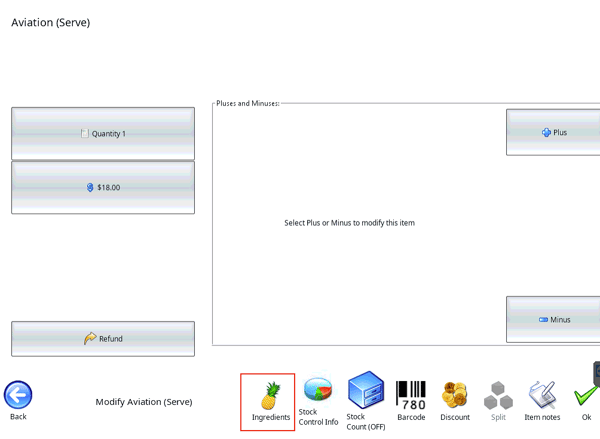
- The assigned images will now be displayed.